
Understanding Drywall Repair Basics
Drywall repair is an essential skill for homeowners and renters alike, as it addresses the wear and tear that occurs on walls over time. Whether it’s from accidental dents, holes from furniture, or minor water damage, understanding how to effectively repair drywall can save you both time and money. Proper drywall repair not only maintains the aesthetic appeal of your home but also helps prevent further damage that may lead to costly renovations. Exploring various techniques and knowledge surrounding Drywall Repair can empower you to tackle these issues with confidence.
What is Drywall and Its Common Issues?
Drywall, also known as gypsum board, is a widely used material for constructing interior walls. Its composition allows for easy installation and finishing, but it is susceptible to various forms of damage. Common issues include:
- Holes and Dents: Small holes can arise from nails, screws, or accidental impacts.
- Water Damage: Moisture can lead to sagging, mold, and overall deterioration of drywall.
- Cracks: These can develop due to settling or structural movement within a building.
- Peeling Paint: This often occurs when moisture seeps through or the drywall surface is not properly primed.
Essential Tools for Drywall Repair
Having the right tools is crucial for successful drywall repair, whether you are handling small dents or larger holes. Key tools include:
- Utility Knife: Essential for cutting drywall and scoring surfaces.
- Drywall Saw: Useful for cutting larger holes.
- Tape Measure: Necessary for accurate measurements.
- Putty Knife: Ideal for applying joint compound or patching compounds.
- Sanding Block: For smoothing the finished surface.
Safety Considerations During Repair
Safety should always be a priority during drywall repairs. Consider the following precautions:
- Wear gloves to protect your hands from sharp edges and debris.
- Use a dust mask or respirator when sanding to avoid inhaling fine particles.
- Ensure proper ventilation in the working area, especially when using adhesives or compounds.
- Be cautious of electrical wires and plumbing behind the drywall before cutting.
Step-by-Step Guide to Small Drywall Repairs
Small drywall repairs such as fixing nail holes or minor dents can often be tackled as DIY projects. Here’s a concise guide to help you through the process:
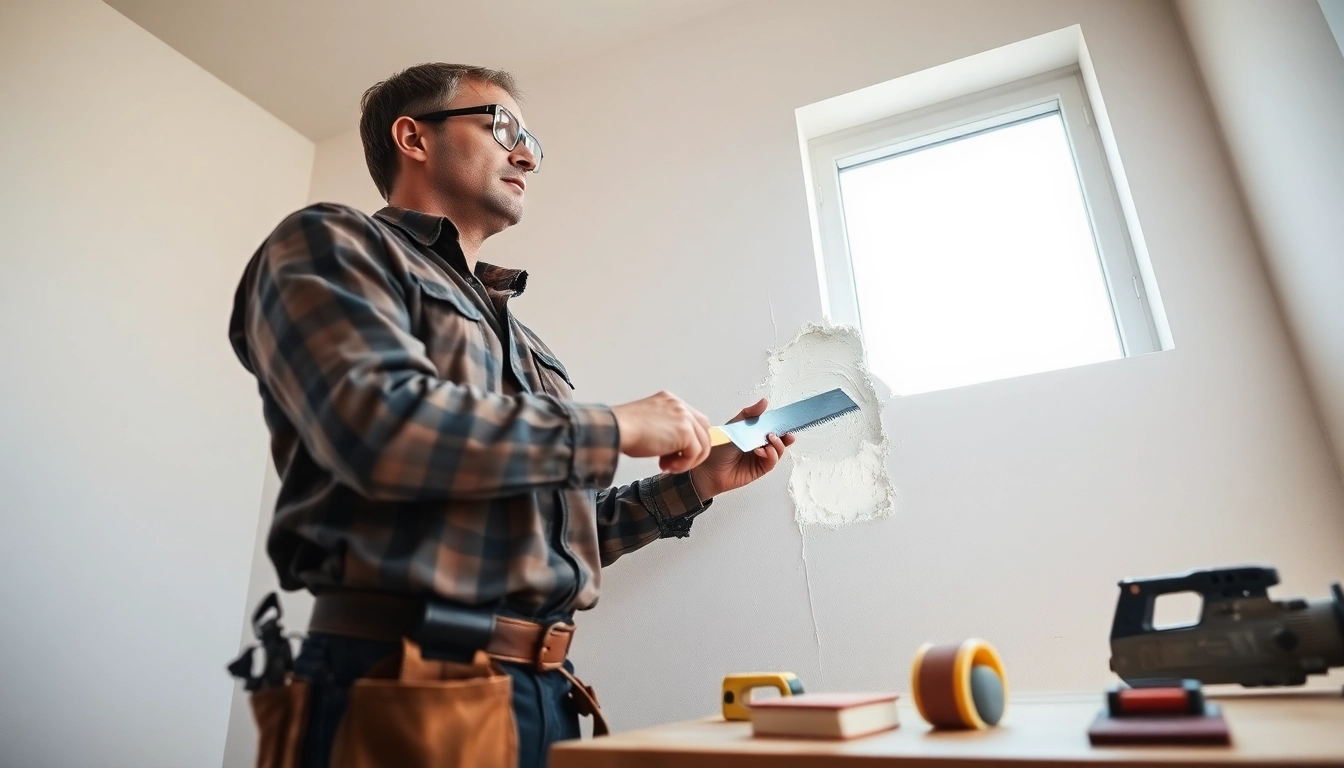
How to Patch Small Holes: Techniques and Tips
To effectively patch small holes, follow these steps:
- Clean the area around the hole to remove any loose debris.
- Apply a thin layer of joint compound using a putty knife, filling the hole completely.
- Allow the compound to dry as per the manufacturer’s instructions.
- Sand the area until smooth and flush with the surrounding surface.
- Finish with a primer and paint to match the wall.
Materials Needed for Successful Repairs
Gather these materials for efficient small repairs:
- Joint compound
- Drywall tape (if necessary)
- Primer and paint
- Sandpaper or a sanding block
Common Mistakes to Avoid During Drywall Repair
While attempting drywall repairs, avoid these frequent pitfalls:
- Not preparing the surface adequately can result in poor adhesion.
- Applying too much joint compound at once may create additional sanding and finishing work.
- Skipping the priming step before painting can lead to uneven coloring.
Dealing with Large Holes and Structural Damage
When it comes to larger holes or significant damage, more intricate repairs are required. Understanding when to repair versus replace drywall can save you time and ensure structural integrity.
Identifying When to Replace vs. Repair Drywall
Before starting any repair, assess the damage:
- If the hole is larger than a few inches or if you can’t secure a patch, consider replacing the entire sheet.
- For water-damaged drywall, replace it to avoid mold growth.
- If the damage impacts surrounding areas, a repair may not ensure structural safety.
Techniques for Patching Large Holes
For larger holes, the following steps can be effective:
- Cut out the damaged section to create a square or rectangle.
- Install a backing support, such as a piece of wood, where the drywall can be attached.
- Secure a new piece of drywall to the backing.
- Apply joint compound over seams and allow to dry.
- Smooth, sand, and paint the new section to match.
Using Reinforcement for Structural Integrity
When repairing large holes, reinforce the patched area:
- Use drywall screws to secure the patch securely to the framing.
- Consider using a mesh tape for larger seams to prevent cracking.
- Apply multiple thin layers of joint compound for a seamless finish.
Finishing Techniques for Perfect Drywall Repair
A successful drywall repair isn’t just about patching; finishing techniques can ensure that it looks as good as new.
Sanding and Smoothing the Repaired Surface
After applying joint compound, sanding is crucial:
- Start with a coarse sandpaper to bring down any high spots.
- Follow up with a finer sandpaper for a smooth finish.
- Be gentle to avoid damaging the surrounding wall.
Choosing the Right Paint for a Seamless Finish
Selecting paint is vital for blending the repair with the existing wall:
- Use a primer first to seal the joint compound for better paint adherence.
- Match the paint type to the existing wall (e.g., matte, gloss).
- Consider using paint with a similar texture to the walls.
Texturing Techniques to Match Existing Walls
If your walls have a particular texture, replicate it after the repair:
- Use a brush or sponge to create texture with joint compound before it dries.
- For knockdown textures, lightly knock down the peaks with a trowel.
- Experiment on a scrap piece to perfect the technique before applying it on the wall.
Cost and Professional Help for Drywall Repair
Understanding the cost and when to hire a professional can help you budget effectively for drywall repairs.
Average Costs for DIY vs. Professional Repairs
The costs associated with drywall repair can vary widely:
- DIY repairs typically cost less, primarily involving materials (approximately $50–$80 per square foot).
- Professional repairs can range from $60–$100 per hour, depending on the complexity of the job.
- Consider the size of the damage and how many repairs you need to determine the best approach.
Finding Reliable Contractors for Drywall Services
When seeking professional help, ensure you choose a reliable contractor:
- Check online reviews and testimonials.
- Ask for estimates from multiple contractors to compare prices.
- Verify their licensing and insurance for protection during the repair process.
Future Trends: Costs and Innovations in Drywall Repair
As technology evolves, so do drywall repair methods. Innovations like flexible, damage-resistant drywall and advanced finishing techniques can reduce repair times and costs. Staying informed about these trends will help homeowners make better decisions regarding repairs and maintenance.